Google Login
This manual describes how to create a new Google Project, so that guests can authenticate and log in on the IACBOX by using their Google account.
Hint
- This module became free for all IACBOXes with valid Software Maintenance as of 1st december 2016.
- The login with Google Credentials is meant to be free, guests can not be charged.
- To setup a Google Login for your guests, you will need to create a Google Project and configure it according to this manual.
- The Google login requires at least one valid ticket template, configured as 0€ (free).
- In case you use a custom certificate on your IACBOX, pay close attention to change all redirect URLs according to your custom hostname.
Creating a Google Project
In order to use the Google Services you have to create a project beforehand. This can be done on the Google Developers Page, public under this URL:
https://code.google.com/apis/console
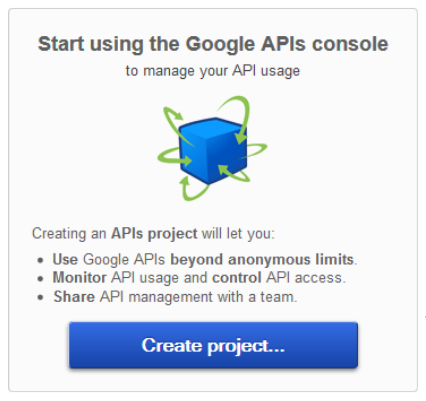
Log in with your regular Google account and then select Create project.
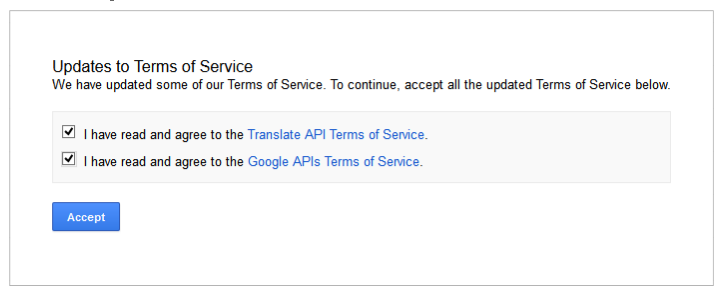
Read and eventually agree to the Terms of Service, then continue with Accept.
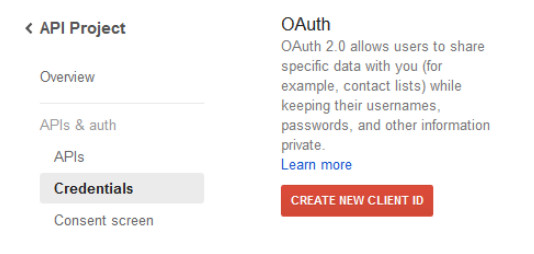
Now on the left side below APIs & auth click on Credentials and then on CREATE NEW CLIENT ID.
In the new window choose Web application as Application type. Add the Authorized JavaScript origins and Authorized redirect URI like shown in the screenshot below.
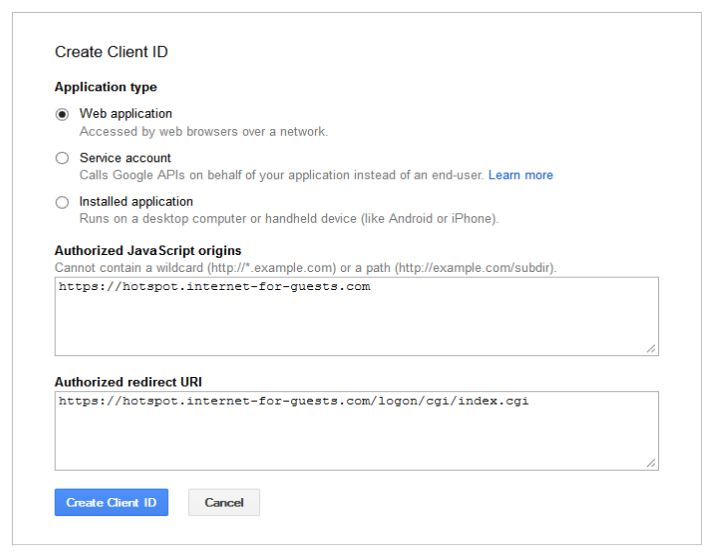
Hint
- In case you use a custom certificate on your IACBOX, pay close attention to change all redirect URLs according to your custom hostname.
Now write down the Client ID and the Client secret for the IACBOX configuration.

Now navigate to Consent screen which can be found in the left menu. Here you only need to type in your Email address and the Product name. Optionally you can configure any additional inputs and upload a logo. Confirm the changes by clicking on Save.
IACBOX Configuration
In the WebAdmin of the IACBOX navigate to Modules / Interfaces and scroll down to the Social Login section. Here you can activate Google.

Now fill in the required inputs, including the Client ID and Client secret from before.
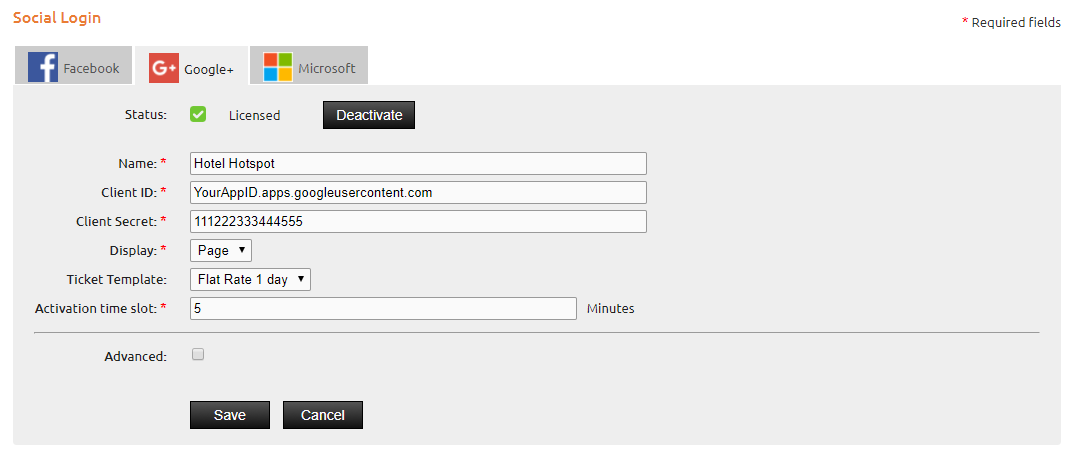
Hint
- The Advanced configuration must be altered if you use a custom certificate on the IACBOX.

Customer Logon Page
On the Customer Logon Page you now can see a Google Icon under the Ticket Logon. Click on the Icon to get to the Google Logon Page. Note that after clicking on the Icon users can access the internet for a predefined amount of time. In this time users should:
- Log in on the Google Login Page
- Accept permissions which will be asked for
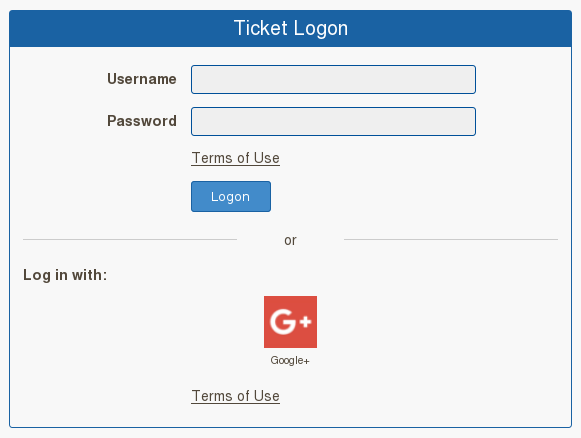
The amount of time in which guests do have access to the internet without logging in with their Google account can be altered in the IACBOX Google configuration with the input field Activation time slot.