Installation on VMware ESXi
This manual describes the steps to configure and prepare VMware ESXi Version 5.5 or newer in order to install the IACBOX.
Hint
- A 64-bit host-system is required.
- It is strongly recommended to use a dedicated physical network interface card for the Surf-LAN.
- The system must be online at any time in order to synchronize necessary IACBOX registration data with the licensing server.
- This manual describes the installation of the IACBOX on ESXi, not the ESXi installation itself.
- The IACBOX is a realtime system. Therefore it is critical to only assign and use ressources which are capable of working within the same operational context. For example: If a VM cluster is used, only the CPU cores of one socket may be used for the IACBOX to avoid rapid context switching between multiple sockets, which would lead to intolerable delays and possible system faults.
- The IACBOX is a closed system, therefore utilities like VMware Tools, which would need full access to the system, can not be installed.
Please note the minimum hardware requirements.
| Users / Devices | CPU Cores | RAM | HDD Capacity |
|---|---|---|---|
| 10 users | 1 | 2 GB | 60 GB |
| 25 users | 1 | 2 GB | 60 GB |
| 50 users | 2 | 2 GB | 60 GB |
| 75 users | 2 | 2 GB | 60 GB |
| 100 users | 2 | 2 GB | 60 GB |
| 175 users | 2 | 2 GB | 60 GB |
| 250 users | 2 | 4 GB | 1 TB |
| 375 users | 4 | 4 GB | 1 TB |
| 500 users | 4 | 4 GB | 1 TB |
| 750 users | 4 | 4 GB | 1 TB |
| 1000 users | 4 | 8 GB | 1 TB |
| 1500 users | 4 | 8 GB | 1 TB |
| 2000 users | 8 | 8 GB | 1 TB |
| 3000 users | 8 | 16 GB | 1 TB |
| Unlimited users | 8 | 16 GB | 1 TB |
Attention
- Starting from 250 users a processor with at least 2,50 Ghz or better is required.
- Virtualized environments generally need more ressources due to the nature of virtualization.
- Functions like the Advanced Web Filter, the Application Control or the Connection Tracking are very CPU-intensive and should therefore be used with caution.
- All specifications are subject to change without notice. The most recent version of this list can always be found here: http://www.iacbox.com/en/support/hardware-requirements/
- In order to use the new DNS based Web Filter of IACBOX version 17.2, at least 4GB of internal memory must be available.
Preparation
Use the VMware vSphere client software to log in on your ESXi server. The client software can be obtained on the VMware homepage by using the following link: http://www.vmware.com/products/vsphere.
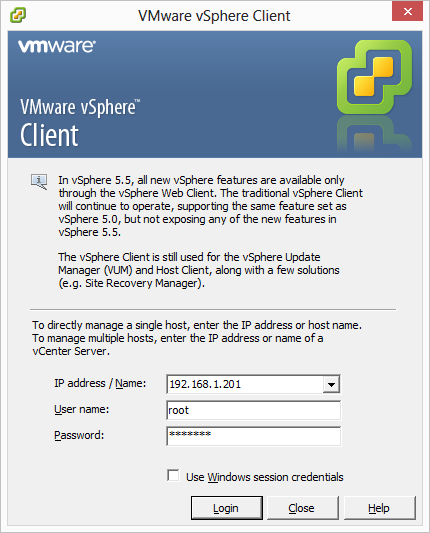
This manual was created with and for ESXi version 5.5. Other versions may differ slightly from what is demonstrated in this manual. While logging in the first time you may face a certificate warning.
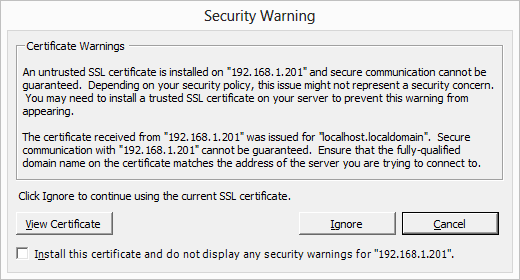
Hint
- This certificate warning is normal and not critical upon initial usage.
- If you face this warning while you’ve already installed the certificate and did not change the ESXi server configuration, then it might be break-in attempt.
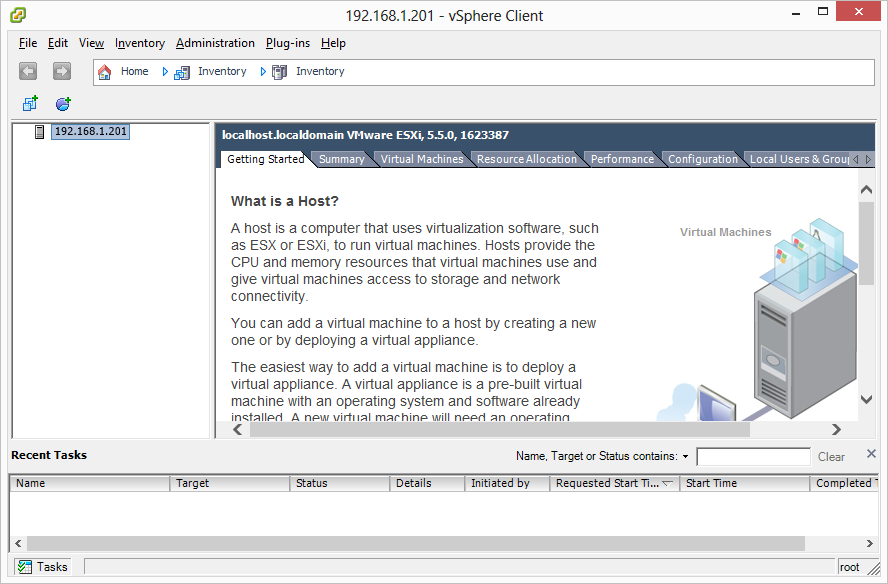
After logging in, click on Inventory to get to the configuration menu of the ESXi server.
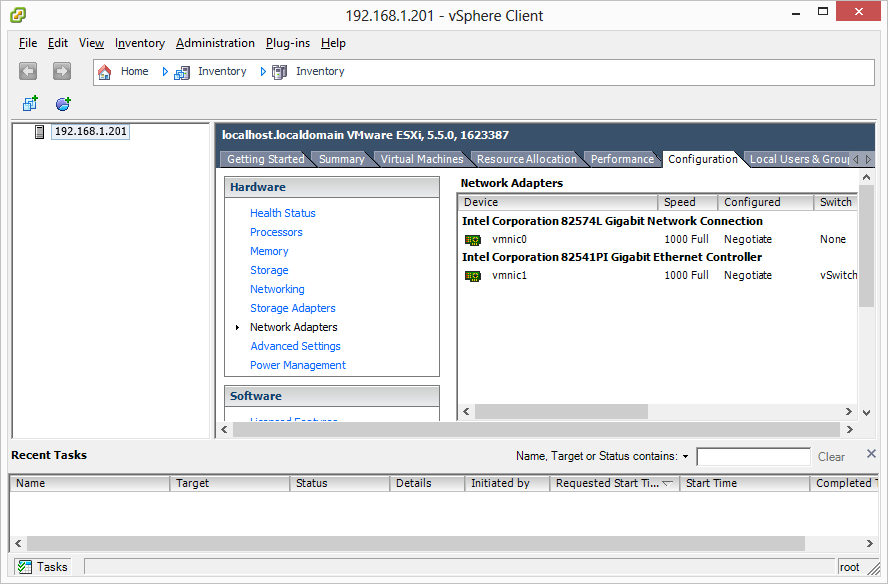
Then navigate to Configuration / Network Adapters. This listing shows the mapping of the virtual/physical network interfaces.
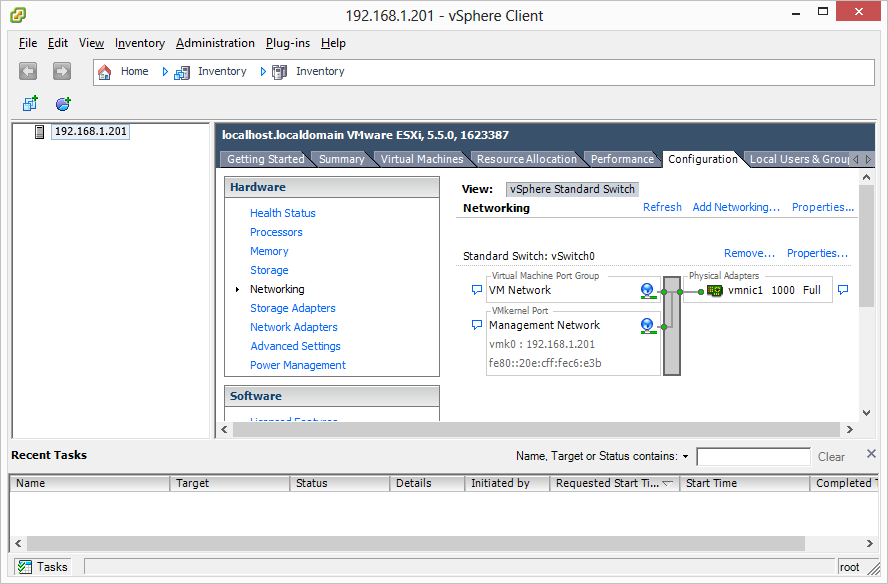
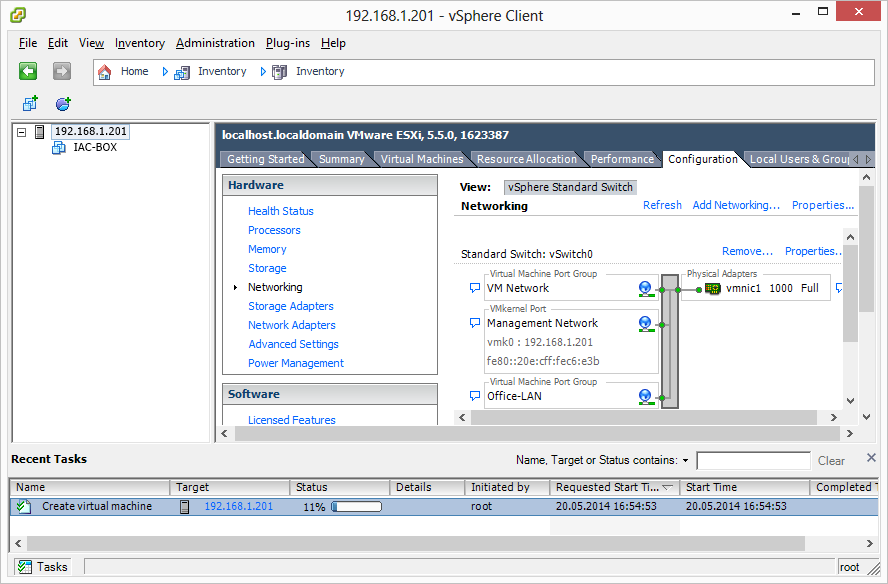
Now click on Networking which can be found in the menu on the left side. Here you can see the interfaces of the ESXi server on the default virtual swtich vSwitch0. Click on Properties.
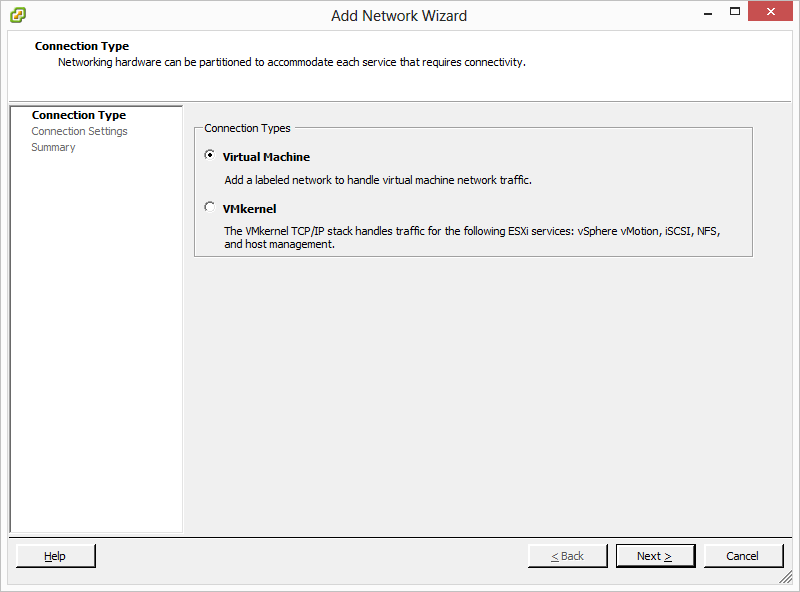
In the next window (vSwitch0 Properties) click on Add, then add a Virtual Machine and click Next.
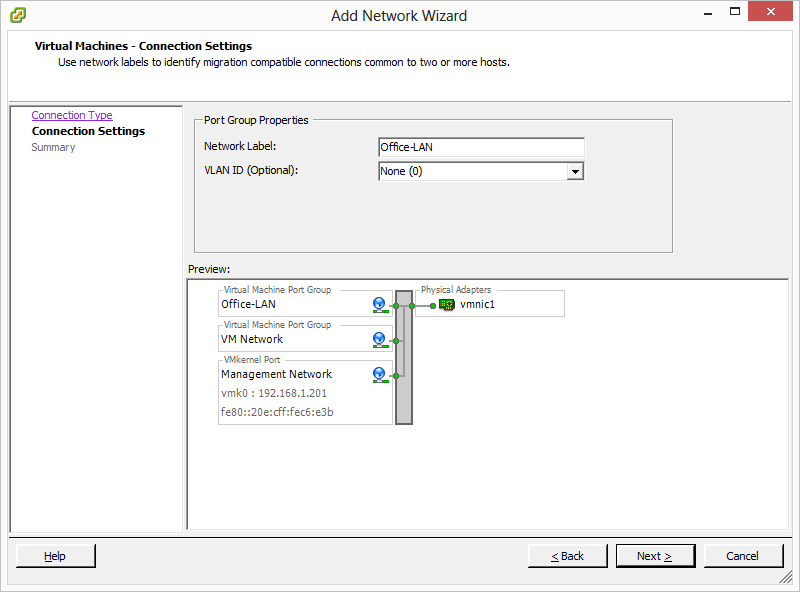
Now type in a name for your Office-LAN connection and hit Next. Here you see that the Office-LAN and Management-Network do share the same physical network card.
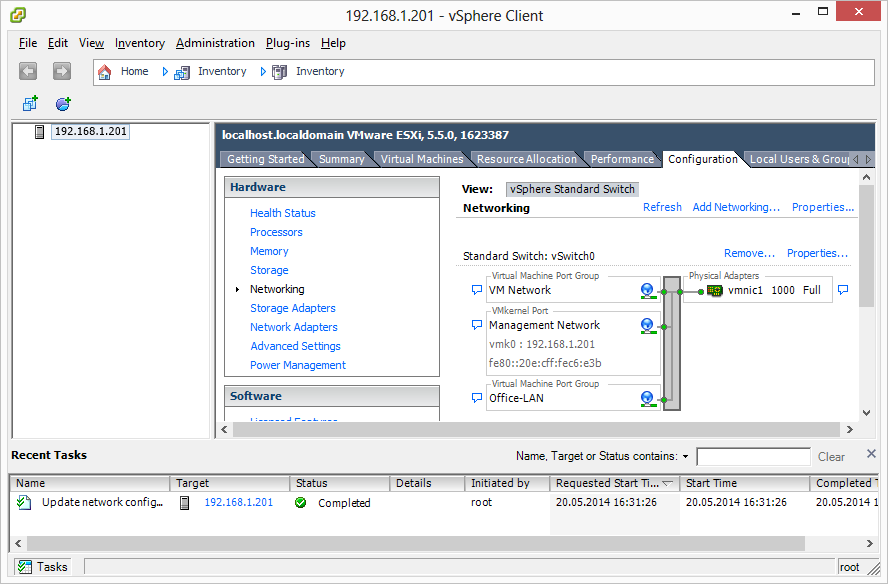
Now click on Next and confirm the summary of the changes with Finish. The next step is about configuration of the Surf-LAN network. Choose Add Networking.
As Connection Type choose Virtual Machine and then click on Next. In the next window choose Create vSphere standard switch and continue with Next.
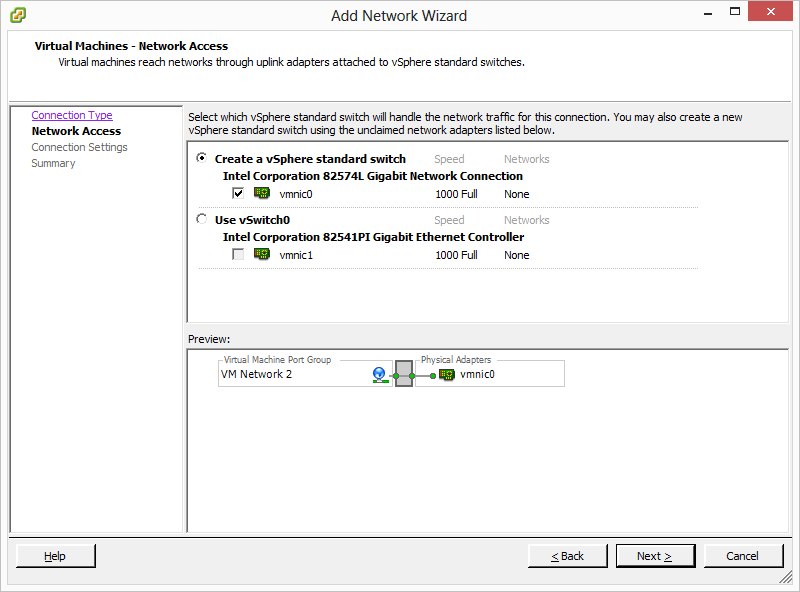
In the Connection Settings enter the name of the Surf-LAN network and click on Next. After that, confirm the summary screen in the next window and accept by clicking on Finish.

Summary of the configured interfaces:
| NIC #1 | Management Network (vSphere) and Office-LAN | |
| NIC #2 | Surf-LAN (Dedicated) |
Creating the virtual machine
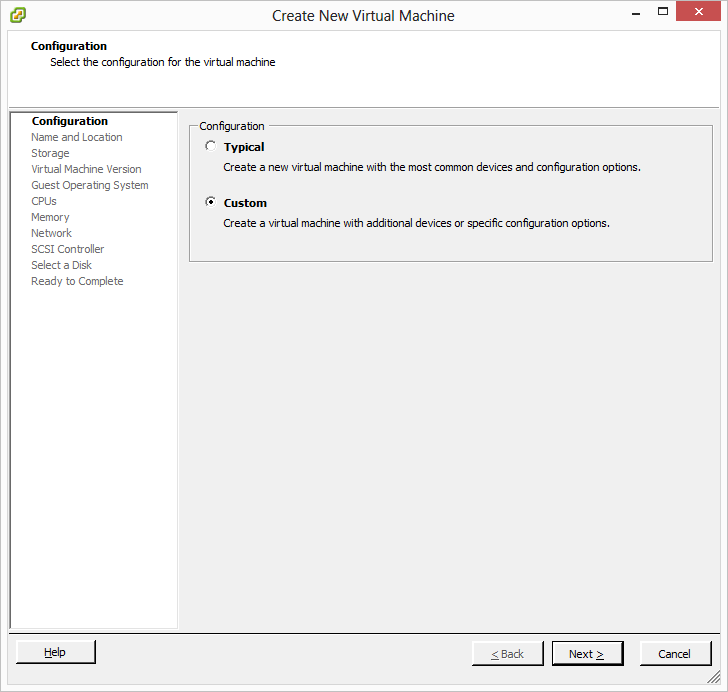
To create the virtual machine click on File, New and then Virtual Machine. A configuration window will open, choose Custom and continue with Next.
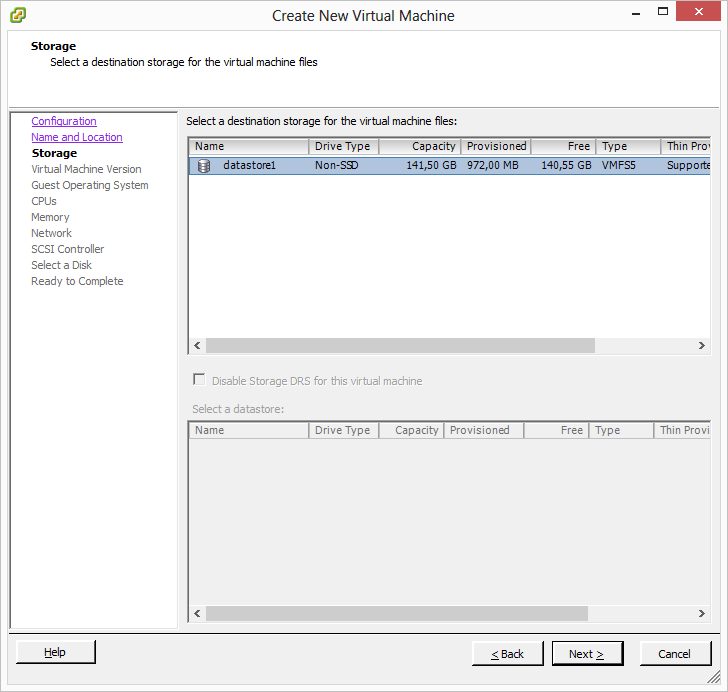
In the next step choose a name for the virtual machine and confirm. Now you need to assign the Destination Storage. This setting does not yet allocate any space on the destination storage.
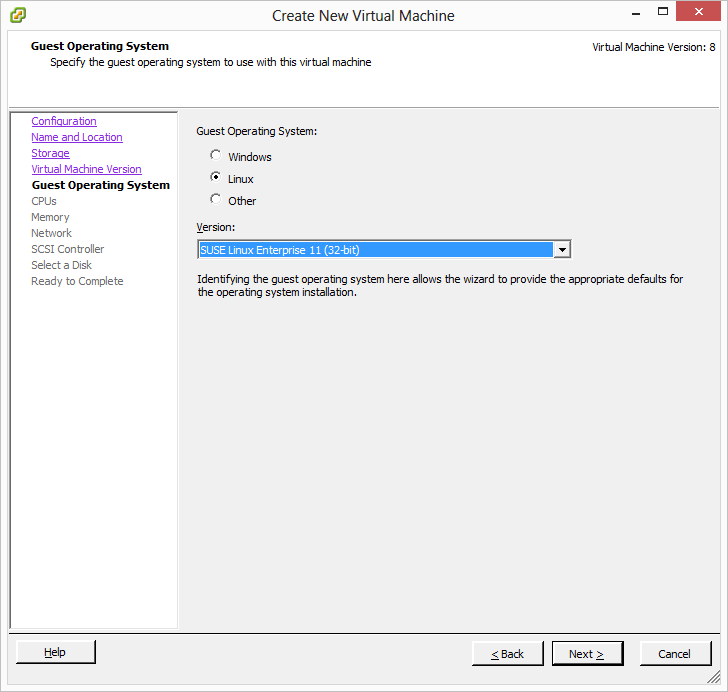
In the next menu, select version 8 or higher as Virtual Machine Version. In the Guest Operating System menu choose Linux and then select SUSE Linux Enterprise 11 either as (32-bit) or (64-bit), depending on your IACBOX installation medium.
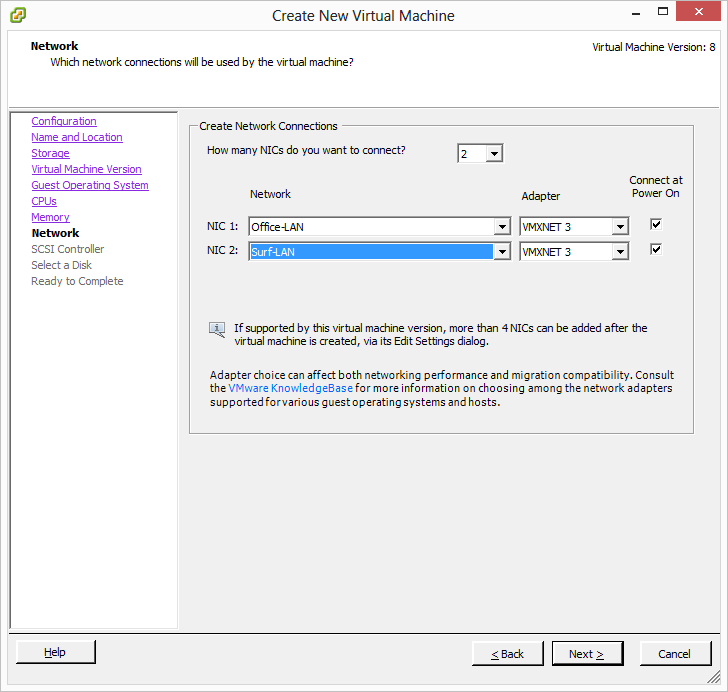
The CPU and Memory settings must be configured according to the minimum hardware requirements which can be found on top of this document - or better. For the Network settings ensure that you select VMXNET 3 as Adapter type and then enable the Connect at Power On for both network interfaces.
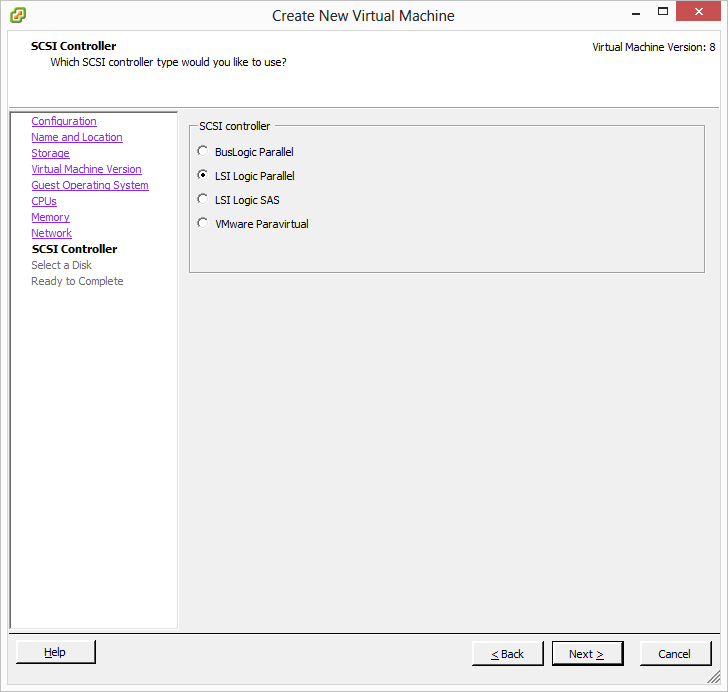
In SCSI Controller settings select VMware Paravirtual. This will add two aditional configurations to the setup list on the left, so the next step will become Select a Disk. Here just select Create a new virtual disk and continue with Next. If the option for VMware Paravirtual is not available in your ESXi, then select LSI Logic Parallel.
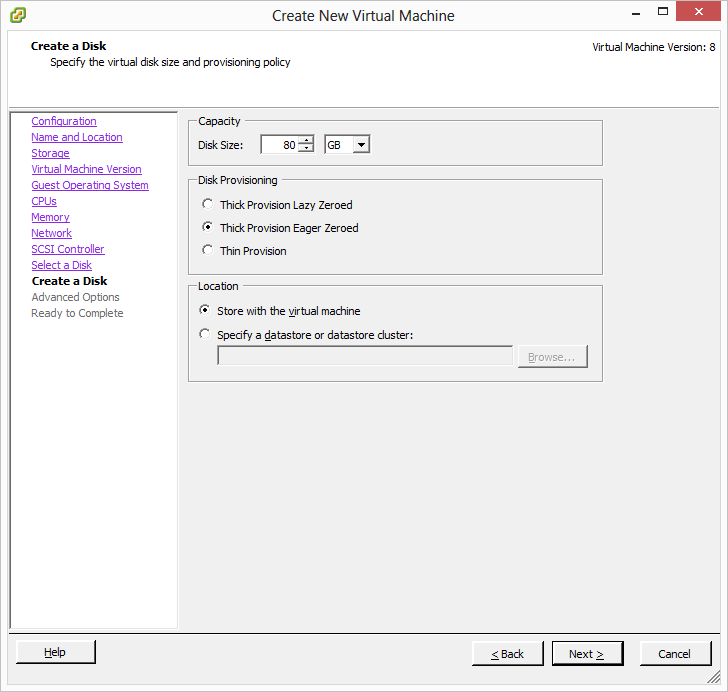
For the Create a Disk configuration again note the minimum hardware requirements. Also enable the option Thick Provision Eager Zeroed.
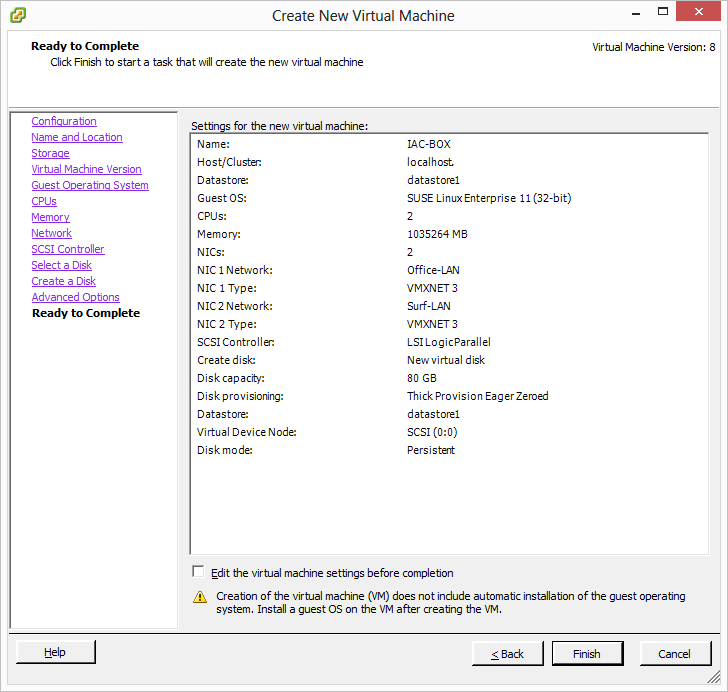
The settings in Advanced Options are usually fine by default, continue to Ready to Complete. Verify your configuration and then finish the process by clicking on Finish.
Hint
- Note that the creation of the actual virtual machine can take some time.
After the virtual machine creation was done, right click on the new virtual machine and select Properties. Here you can decide how to include the installation medium. Usually in virtualized environments this is done by ISO files, but if the host system has a CD-ROM drive, then a CD can also be used.
Now you can proceed with the installation of the IACBOX. The detailed installation process is described in the manual IACBOX Installation.