USB Stick Creation
This manual describes how to prepare and create a bootable USB stick from the downloadable IAC- BOX USB image file on windows and linux based operating systems.
Hint
- All existing data on the USB stick will be deleted during this operation!
USB Stick Creation for Windows
To prepare the USB stick with Microsoft Windows operating system it is recommended to use the USB Image Tool, which can be downloaded for free from alexpage.de. Now start the USB Image tool so that the following window opens.
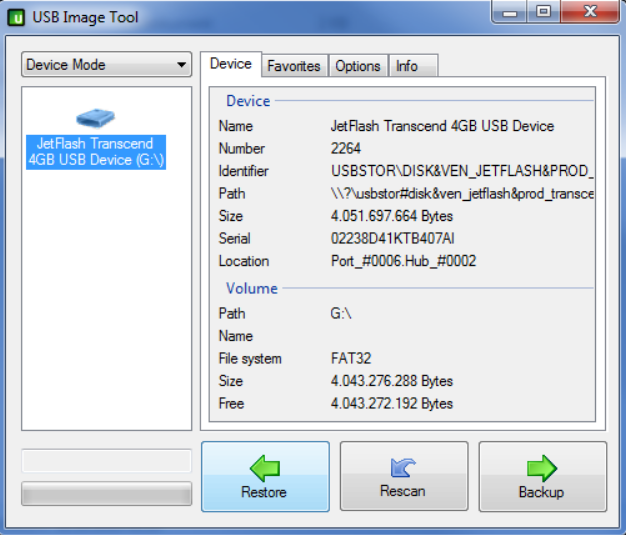
Click on the USB device you want to prepare for USB installation and then on Restore. Now select the IACBOX USB image you want to use for Installation.
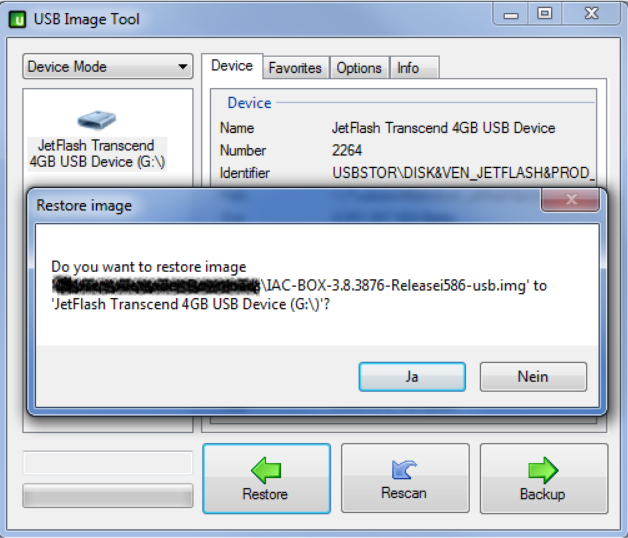
Confirm this dialog by clicking on Ja (Yes) so that the tool will start the copying process.
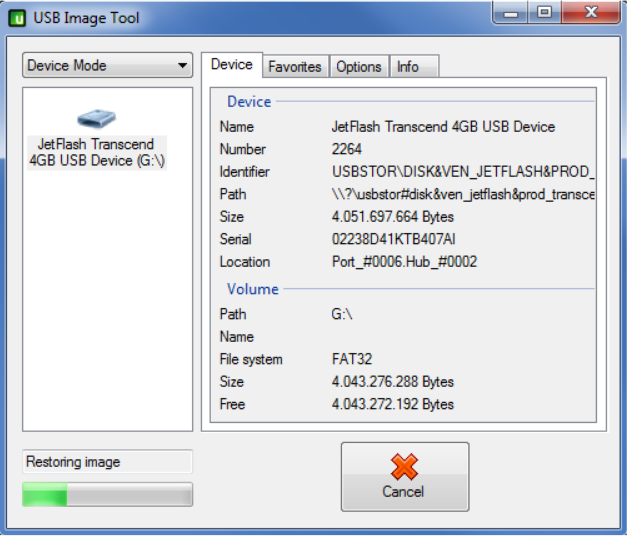
Now the USB Image gets restored to the USB device as you can see on the lower left corner in the screenshot above. Once this process is complete, the preparation of the USB stick for the USB installation is done. To avoid writing errors do not access the USB device during the copying process! If the copy process is completed you can safely remove the USB stick from your computer.
USB Stick Creation for Linux
If you are using a linux based operating system we recommend using the dd command-line utility. After the USB device was verified with fdisk -l you may start the copying process.
1 | dd if=IACBOX-x.x.xxxx-aaaaReleasei586-usb.img of=/dev/sdX bs=1M
|
Attention
- Typing mistakes and wrong usage of device nodes, or other usage errors, for example using the wrong volume (device), can cause irreparable damage to the system!