EasyWeb CSS Editor
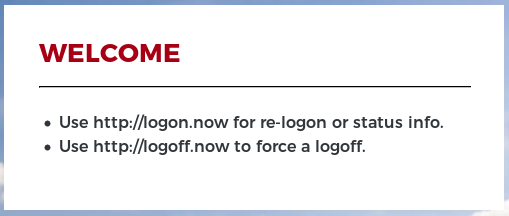
The EasyWeb CSS Editor allows you to change the customer logon site by yourself and adapt it to your needs. You can change the color, position, font size etc. of all existing elements. In order to open the EasyWeb CSS Editor, click on the element you want to change.
Contents
General
The EasyWeb CSS can be accessed in the WebAdmin menu Client Logon/Design-Themes, where new themes can be created and edited with the CSS editor. Once a theme has been opened for editing, the various elements of the login page can be selected.
Once an element has been selected, a window shows up where you can edit the CSS attributes and add new ones. You can add new attributes as for example background-color, font-size, position etc.In addiction you can change the attributes of all elements of the same type.
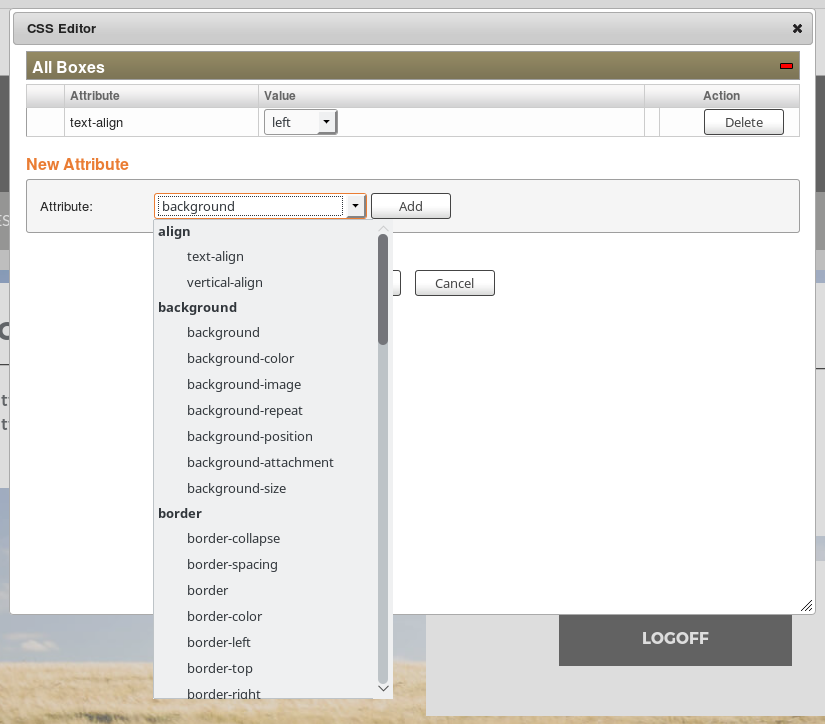
As you can see on the picture above, the EasyWeb CSS Editor contains two fields on which you can change attributes. One of them is the selected welcome box (displayed as Left - Box 1) and the other one is for all other similar elements (displayed as All Boxes).
So if you want to change certain attributes for all similar elements you do not need to change them on every single element, you ca change them for all similar elements at once. But please note that the attributes of individual elements are still preferred.
The attributes of an element can also be prioritized among themselves. Therefore click into the empty field beneath the attribute name and drag it up or down. Highest priority has the first attribute in the list and the lowest priority has the last one.
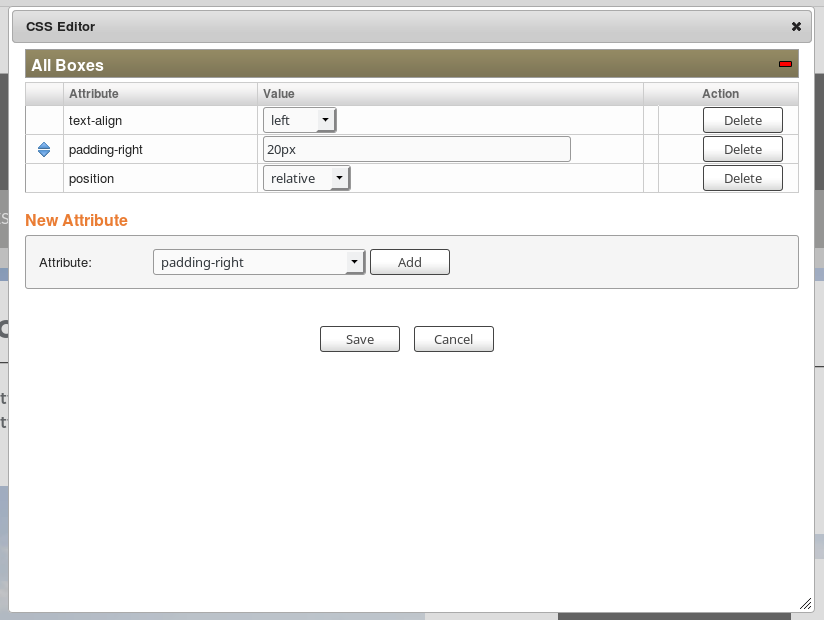
Here you see three attributes defined for the welcome box. Now click into the empty field beneath the attribute name and drag ther attribute to another position.
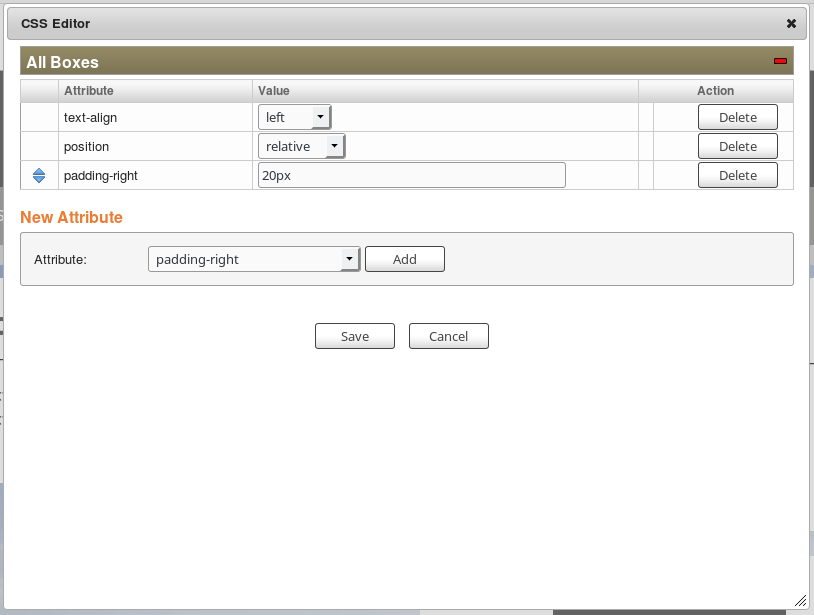
As you can see now, the priority of the attribute padding-right has been changed. This attribute is now in last place and therefore has the lowest priority.
Example 1 - Change font color of the header
In this example the headline of the welcome box should be changed. Therefore click on the headline of the box to open the Easyweb CSS Editor.
As you can see here, the EasyWeb CSS Editor contains all boxes and therefore all headlines will be changed.
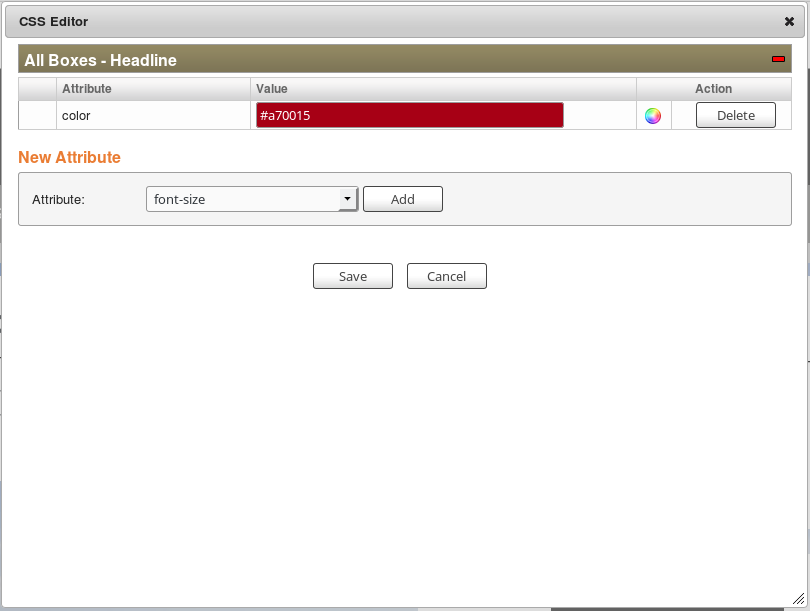
In this example we will change the font color and the font size of the headline. To change the font color, you can either enter the color code of the desired color or use the color circle beneath the Delete button.
To change the font size, also add the appropiate attribute (font-size). Then enter a font size in pixel (e.g. 20px).
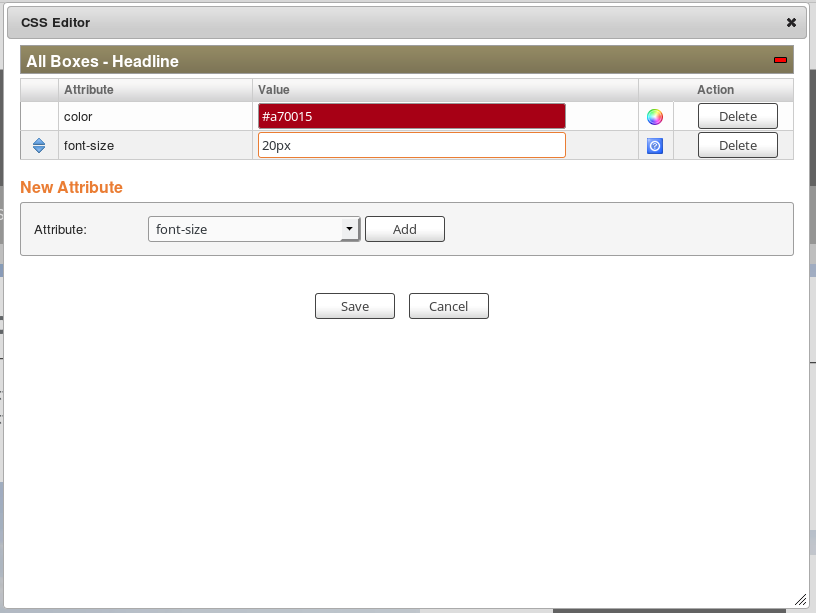
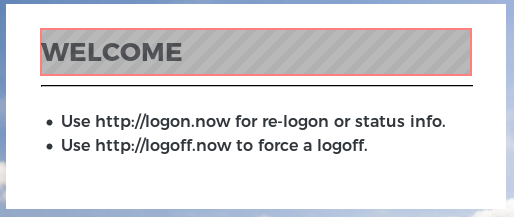
As you can see in this example red was selected as font color. The font size has been set to 20px. These settings will lead to the following result.
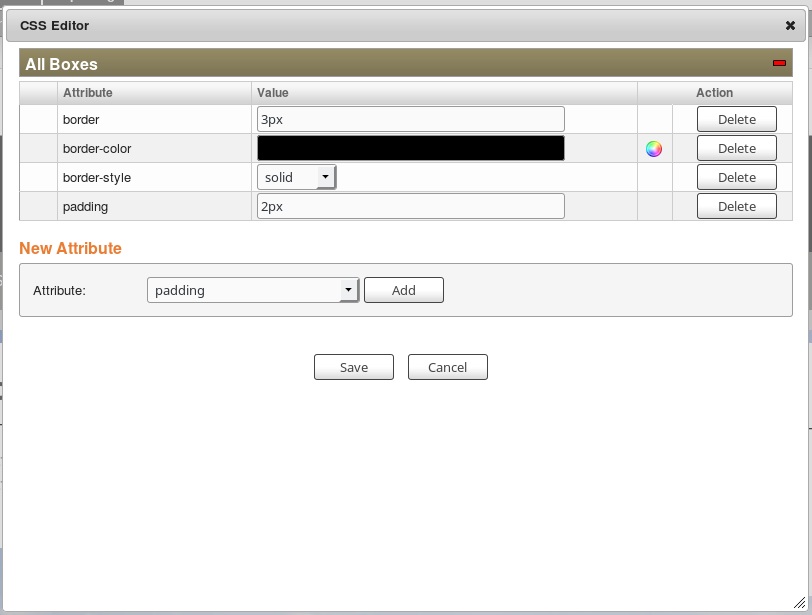
Example 2 - Change border of login boxes
In this example, a own border for all boxes will be defined. Therefore click on the whole box to open the EasyWeb CSS Editor again.
Again, only attributes in the field All Boxes are changed.
In this example, a solid, black border with 3px border-width and 2 px distance from the box is defined. Therefore add the required attributes (border-color, border-width, border-style and padding). Etner the required values for the attributes and click on save.
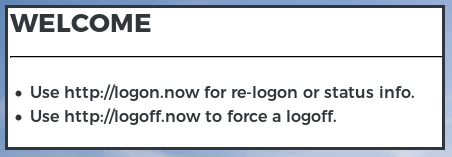
The attributes for this example are displayed above. The settings will lead to the following result for all boxes.
As you can see, a solid black border with 2px width and px distance from the box has been created.
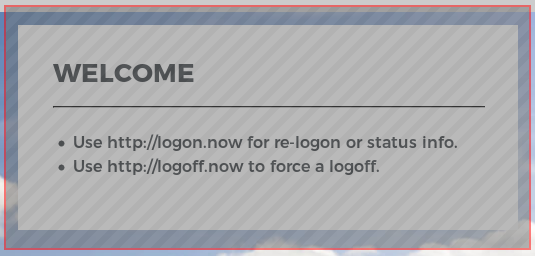
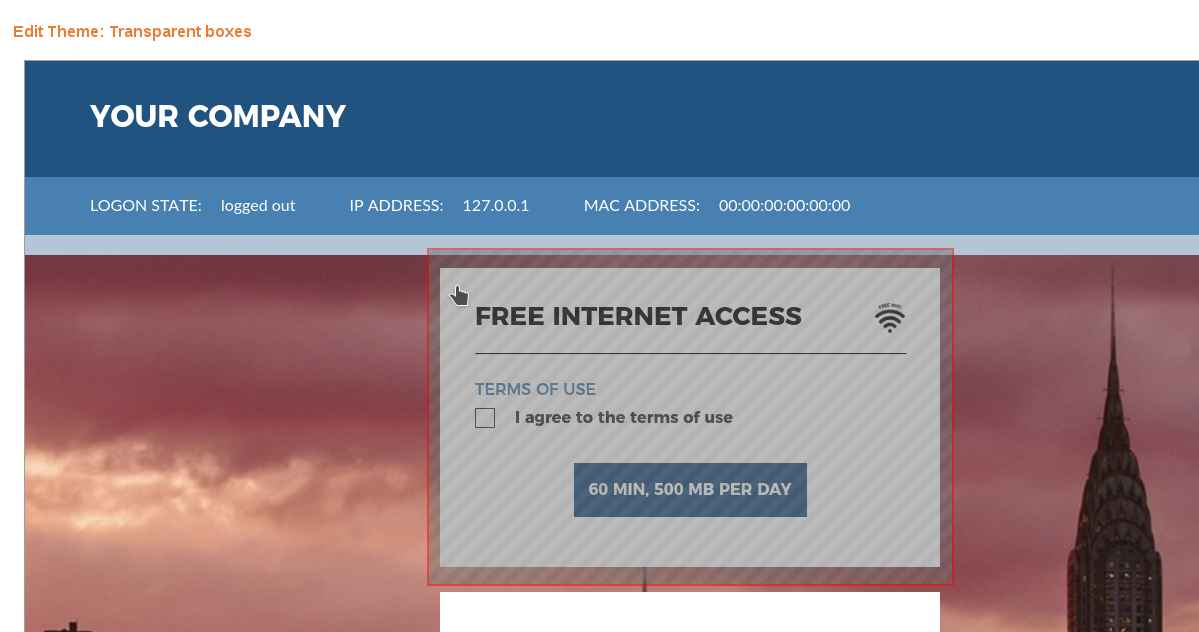
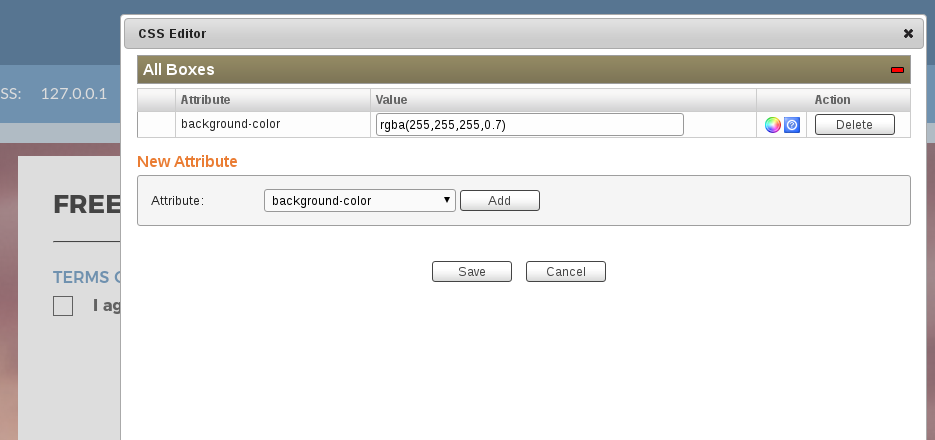
Example 3 - Make boxes transparent
First select a box
Add the CSS property background-color and set as value for example rgba(255,255,255,0.7).
The first 3 values are the color in the RGB format - in this case white - and the last value is
the opacity where 1.0 means opaque and 0.0 menas 100% transparent.
It depends on the used background image which value to choose. Note that darker and homogenic
backgrounds work better with transparency.
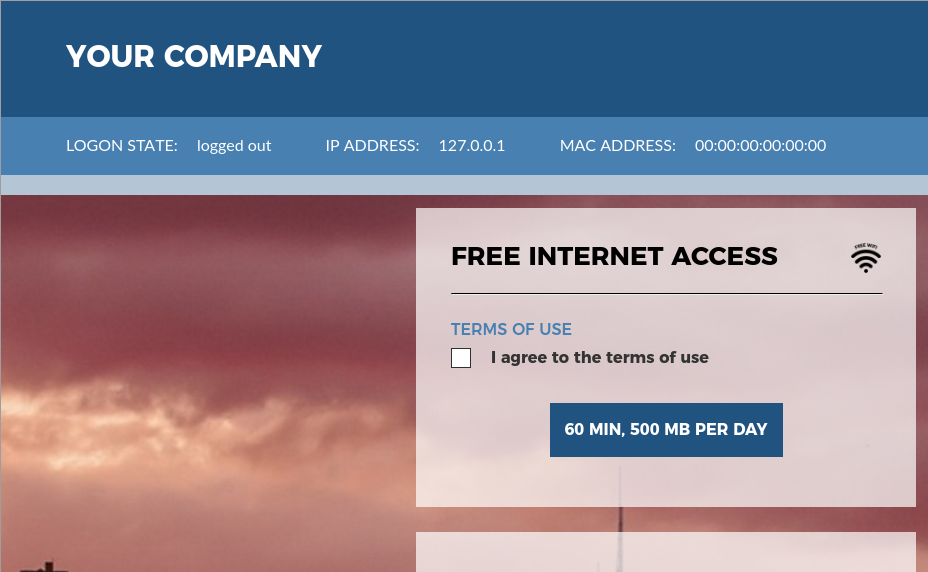
As a result you get transparent boxes.
Example 4 - Change the background image
Attention
This is for older systems up to version 8.0 or for old landing page styles. If you use verion 17.0 or higher with a new Metro style you can use the new background chooser.
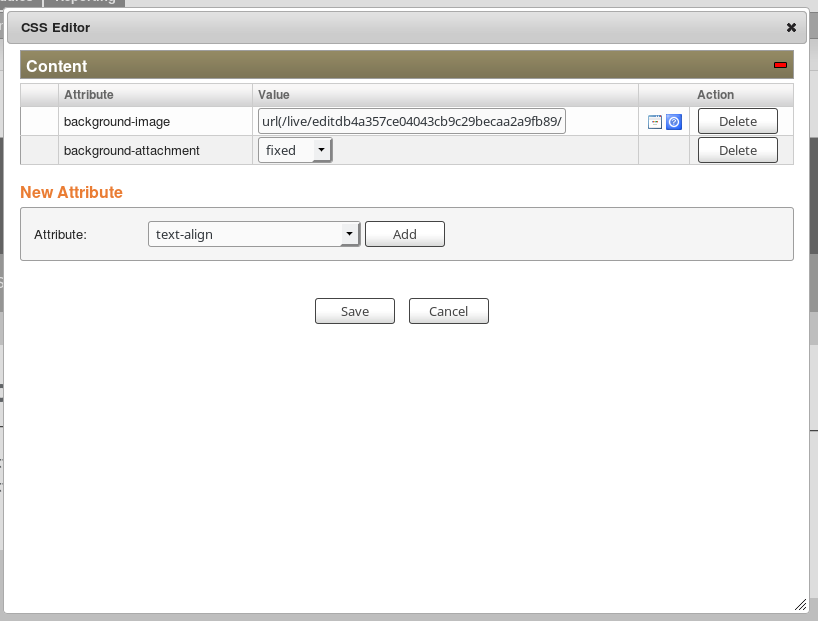
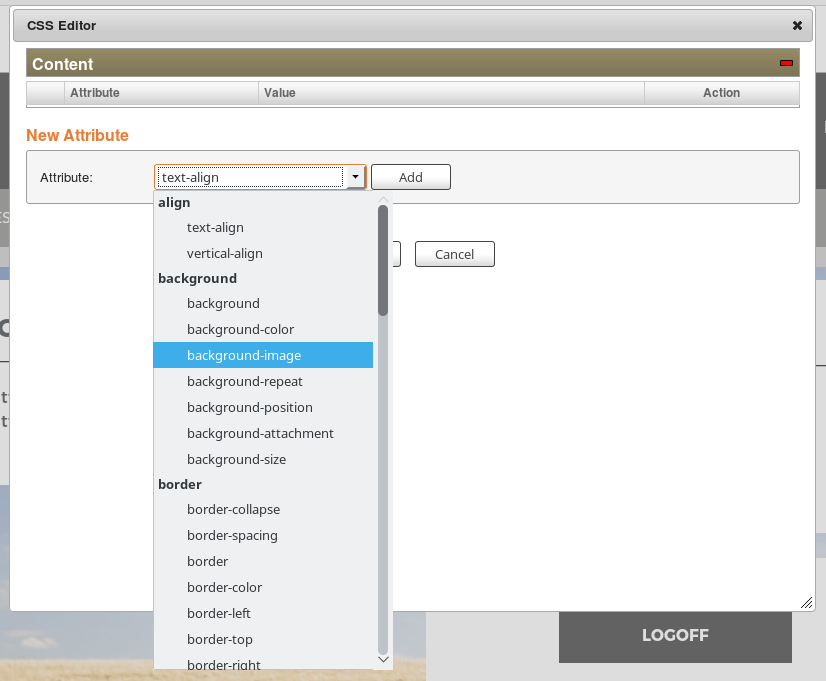
In this example we will change the background-image of the default logon page. Click on the background image of the page to open the EasyWeb CSS Editor.
Only attributes in the field Content will be changed.
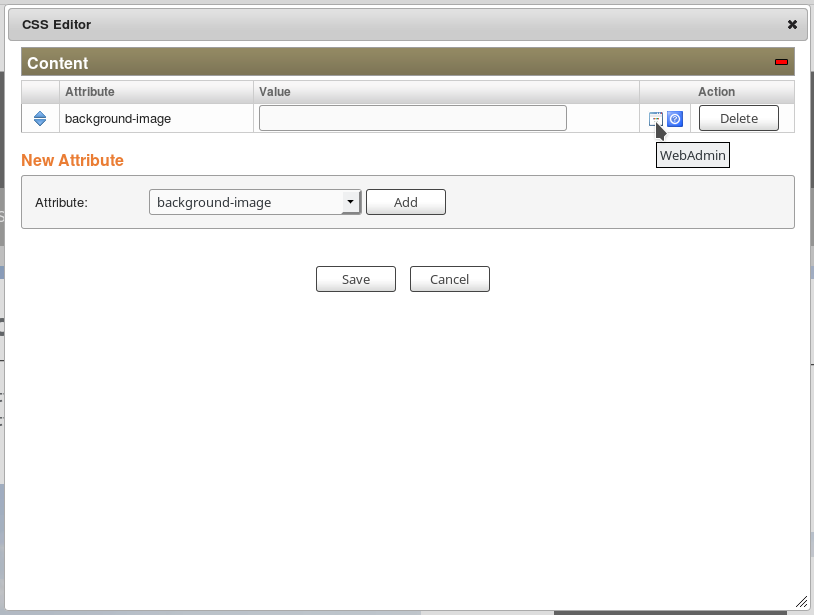
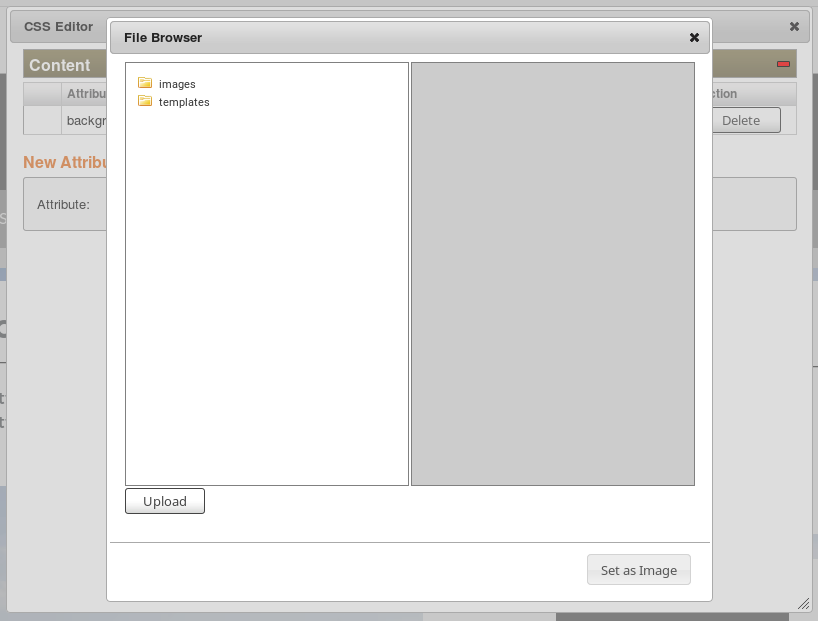
Add a new attribute with the name background-image. Now click on the Filesystem icon and a File browser opens itself.
Click the button Upload and select the background image you want to use for your login page.
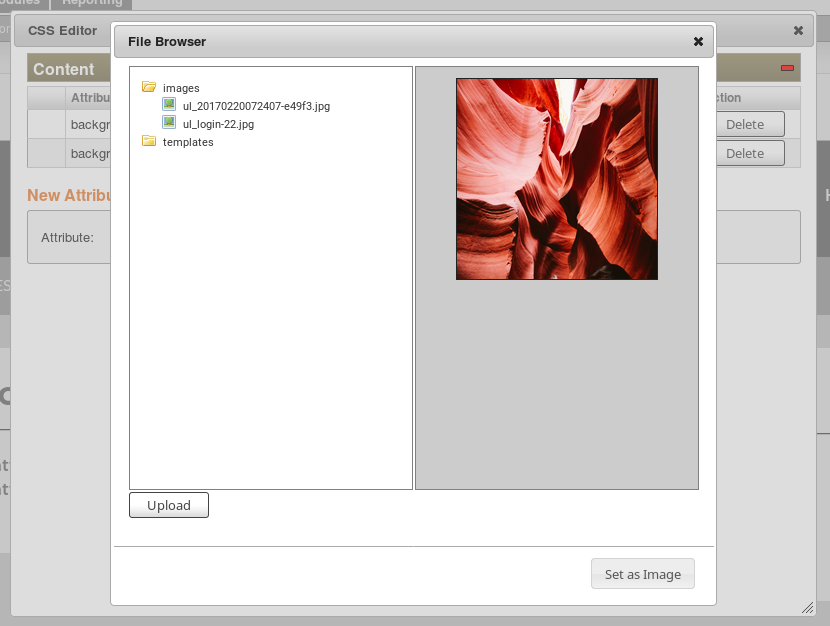
After you clicked the button Set as Image the new background image will be set. The css property background-attachement will be set to fixed automatically.